
Greetings, fellow project managers! Embarking on a new project can be daunting, but with the right tools and a solid plan in place, you can tackle any challenge that comes your way. In this step-by-step guide, I will show you how to create a professional project plan in Excel that will help you stay organized, on track, and in control of your project from start to finish. Whether you’re a seasoned professional or new to project management, this tutorial will equip you with the skills you need to excel in your role and deliver successful projects on time and within budget. Let’s dive in and create a project plan that will impress your team and stakeholders!
Key Takeaways:
- 1. Streamlined organization: Learn how to organize your project plan like a pro using Excel, making it easier to track progress and manage tasks efficiently.
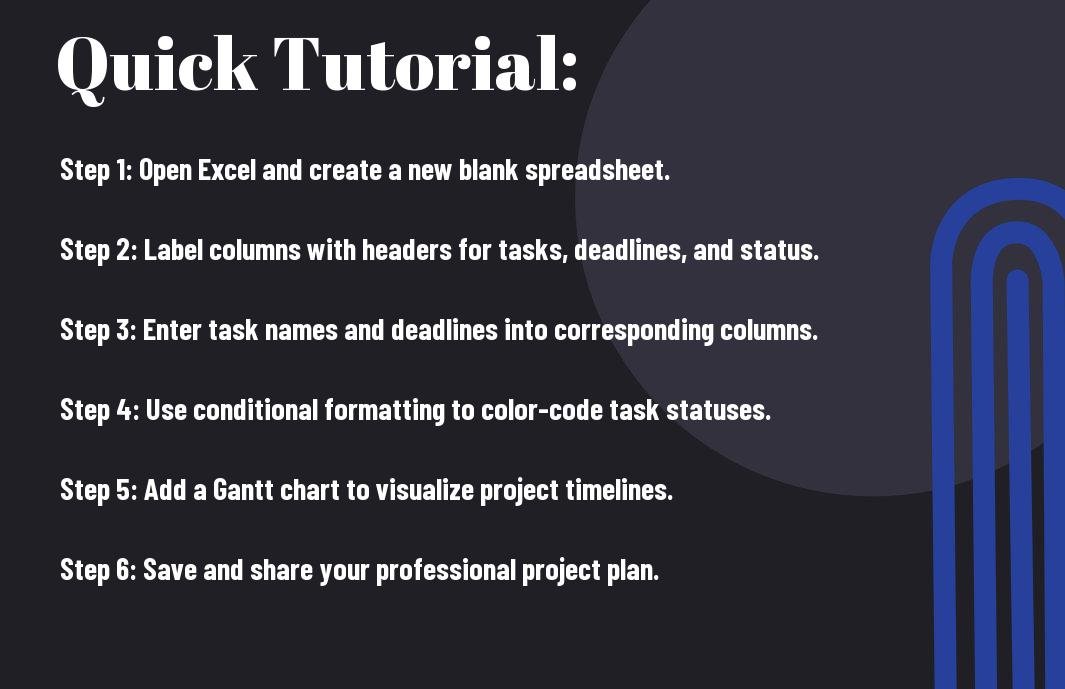
- 2. Step-by-step guidance: Follow a comprehensive guide that breaks down the project planning process into manageable steps, ensuring a thorough and systematic approach.
- 3. Customizable templates: Gain access to customizable Excel templates that can be tailored to fit the specific needs of your project, saving time and effort in the planning phase.
- 4. Efficient resource allocation: Utilize Excel’s capabilities to allocate resources effectively, making the most out of your available manpower and budget.
- 5. Enhanced project communication: Create a clear and concise project plan in Excel that can be easily shared and understood by all stakeholders, fostering better communication and collaboration.
Setting Up Your Excel Spreadsheet
The first step in creating a project plan in Excel is setting up your spreadsheet. This will serve as the foundation for organizing your project details and keeping everything in one place. By setting up your Excel spreadsheet correctly, you can ensure that you have a clear and organized structure to work with throughout the project.
Creating Headers and Labels
When setting up your Excel spreadsheet for your project plan, it’s crucial to create clear headers and labels for each column and row. This will help you easily navigate and understand the information you input. Use bold and distinct font styles to differentiate the headers from the rest of the data. You can include headers such as “Task Name,” “Start Date,” “End Date,” “Assigned To,” and “Status.” By having these clear labels, you can quickly identify and update different aspects of your project plan.
Formatting Cells for Data Entry
Formatting cells for data entry is an essential step in setting up your Excel spreadsheet for your project plan. You can use drop-down lists, date pickers, and data validation to standardize and control the input of data. This can help minimize errors and ensure consistency across the spreadsheet. By formatting cells for data entry, you can also make it easier to analyze and report on the information at a later stage. Ensuring that your data is input in a standardized format will save you time and effort in the long run.
Outlining Your Project Scope
Now that you’re ready to create a project plan in Excel, the first step is to outline your project scope. This involves defining the boundaries of your project and determining what will be included in the plan. It’s essential to have a clear understanding of the goals, deliverables, milestones, and deadlines before moving forward with the planning process.
Defining Project Goals and Deliverables
When outlining your project scope, start by clearly defining the goals and deliverables you want to achieve. What specific outcomes are you aiming for? What tangible items or results will be produced as a result of the project? Being as specific as possible will help you stay on track and ensure that everyone involved understands what is expected.
Identifying Key Milestones and Deadlines
Another crucial step in outlining your project scope is identifying key milestones and deadlines. What are the major stages or events that mark significant progress in the project? What are the critical deadlines that must be met to ensure the project stays on schedule? Setting clear milestones and deadlines provides a roadmap for the project and helps keep everyone focused on the end goal.
Allocating Resources and Assigning Tasks
Now that I have identified my project requirements and goals, it’s time to allocate the necessary resources and assign tasks to my team. This step ensures that every aspect of the project is covered and that everyone knows their responsibilities to keep the project on track.
Creating a Resource Allocation Table
Not only is it crucial to have the right resources for your project, but it’s also essential to manage and allocate them effectively. I recommend creating a resource allocation table in Excel to keep track of all the resources needed for the project. This table should include the resource name, type, quantity, and allocation status. By having all this information in one place, you can easily identify any shortages or overages and make adjustments accordingly.
Assigning Tasks to Team Members
When it comes to assigning tasks to team members, you need to be strategic in your approach. Not only do you need to consider each team member’s strengths and weaknesses, but you also need to ensure that the workload is evenly distributed. I find that creating a task assignment matrix in Excel helps me keep track of who is responsible for what tasks, the deadlines, and the status of each task. This way, I can easily identify any bottlenecks and distribute the workload more evenly.
Tracking and Monitoring Progress
For any project, it’s essential to track and monitor progress to ensure that it stays on schedule and within budget. Without proper tracking and monitoring, it’s easy for a project to veer off course, leading to delays and potential failures. In this chapter, I’ll discuss the best methods for tracking and monitoring progress to keep your project on track and ensure its success.
Setting Up Progress Tracking Tools
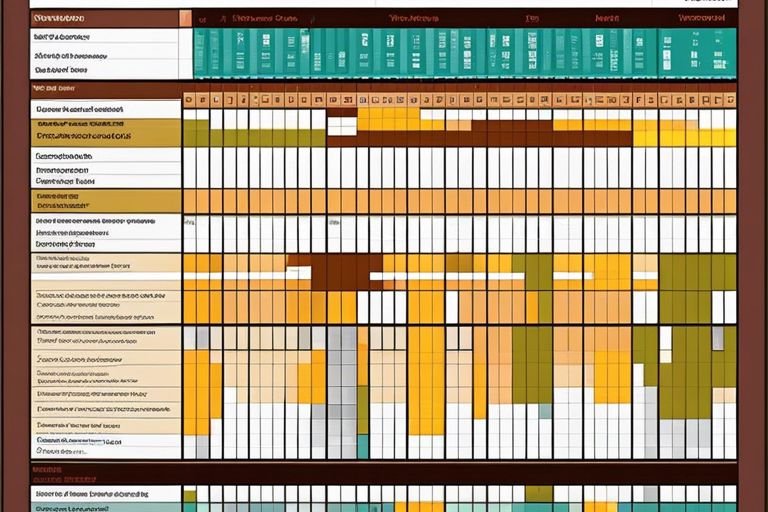
When it comes to tracking progress, it’s crucial to have the right tools in place. In Excel, you can create a Gantt chart to visually track the progress of different project tasks. This allows you to see at a glance where you are in the project timeline, what tasks are completed, and what tasks are upcoming. Additionally, using conditional formatting in Excel can highlight overdue tasks or tasks that are at risk of falling behind schedule, allowing you to address them proactively.
Implementing Regular Check-Ins and Updates
Regular check-ins and updates with your team are essential for monitoring progress effectively. I recommend scheduling weekly or bi-weekly meetings to review the project status, discuss any roadblocks or challenges, and make any necessary adjustments to the plan. During these meetings, I find it helpful to maintain a project dashboard in Excel that provides a high-level overview of the project status, including key metrics and milestones. This enables you to identify any areas that require immediate attention and ensures that everyone is aligned on the project’s progress.
The Create Project Plan in Excel – Organize Like a Pro with This Step-by-Step Guide
The key to successful project management is a well-organized plan, and this step-by-step guide will help you achieve just that. By utilizing Excel, you can efficiently and effectively create a project plan that will keep you on track and organized throughout the entire project lifecycle. From establishing project goals and milestones to creating a detailed schedule and tracking progress, this guide covers all the essential steps to streamline your project management process. Whether you are a seasoned professional or new to project management, this guide will provide you with the tools and knowledge to create a comprehensive project plan that will set you up for success.
FAQ
Q: Why should I create a project plan in Excel?
A: Excel is a powerful tool for organizing and tracking project tasks, timelines, and resources. It allows for easy customization and flexibility, making it an ideal choice for creating a project plan.
Q: What are the key components of a project plan in Excel?
A: A project plan in Excel should include a timeline, list of tasks, responsible team members, deadlines, dependencies, and any additional resources needed for the project.
Q: Can I create a project plan in Excel for any type of project?
A: Yes, Excel can be used to create project plans for a wide range of projects, including large-scale initiatives, team projects, individual tasks, or even personal projects. Its versatility makes it suitable for any type of project planning.
Q: How can I stay organized while creating a project plan in Excel?
A: You can stay organized by consistently updating the project plan with progress, using color-coding for different tasks, setting up filters for easy navigation, and ensuring all team members have access to the updated plan.
Q: Are there any tips for creating a professional project plan in Excel?
A: Yes, some tips include using templates for consistency, creating clear and concise task descriptions, setting realistic deadlines, and regularly reviewing and updating the project plan to reflect any changes or new developments.